
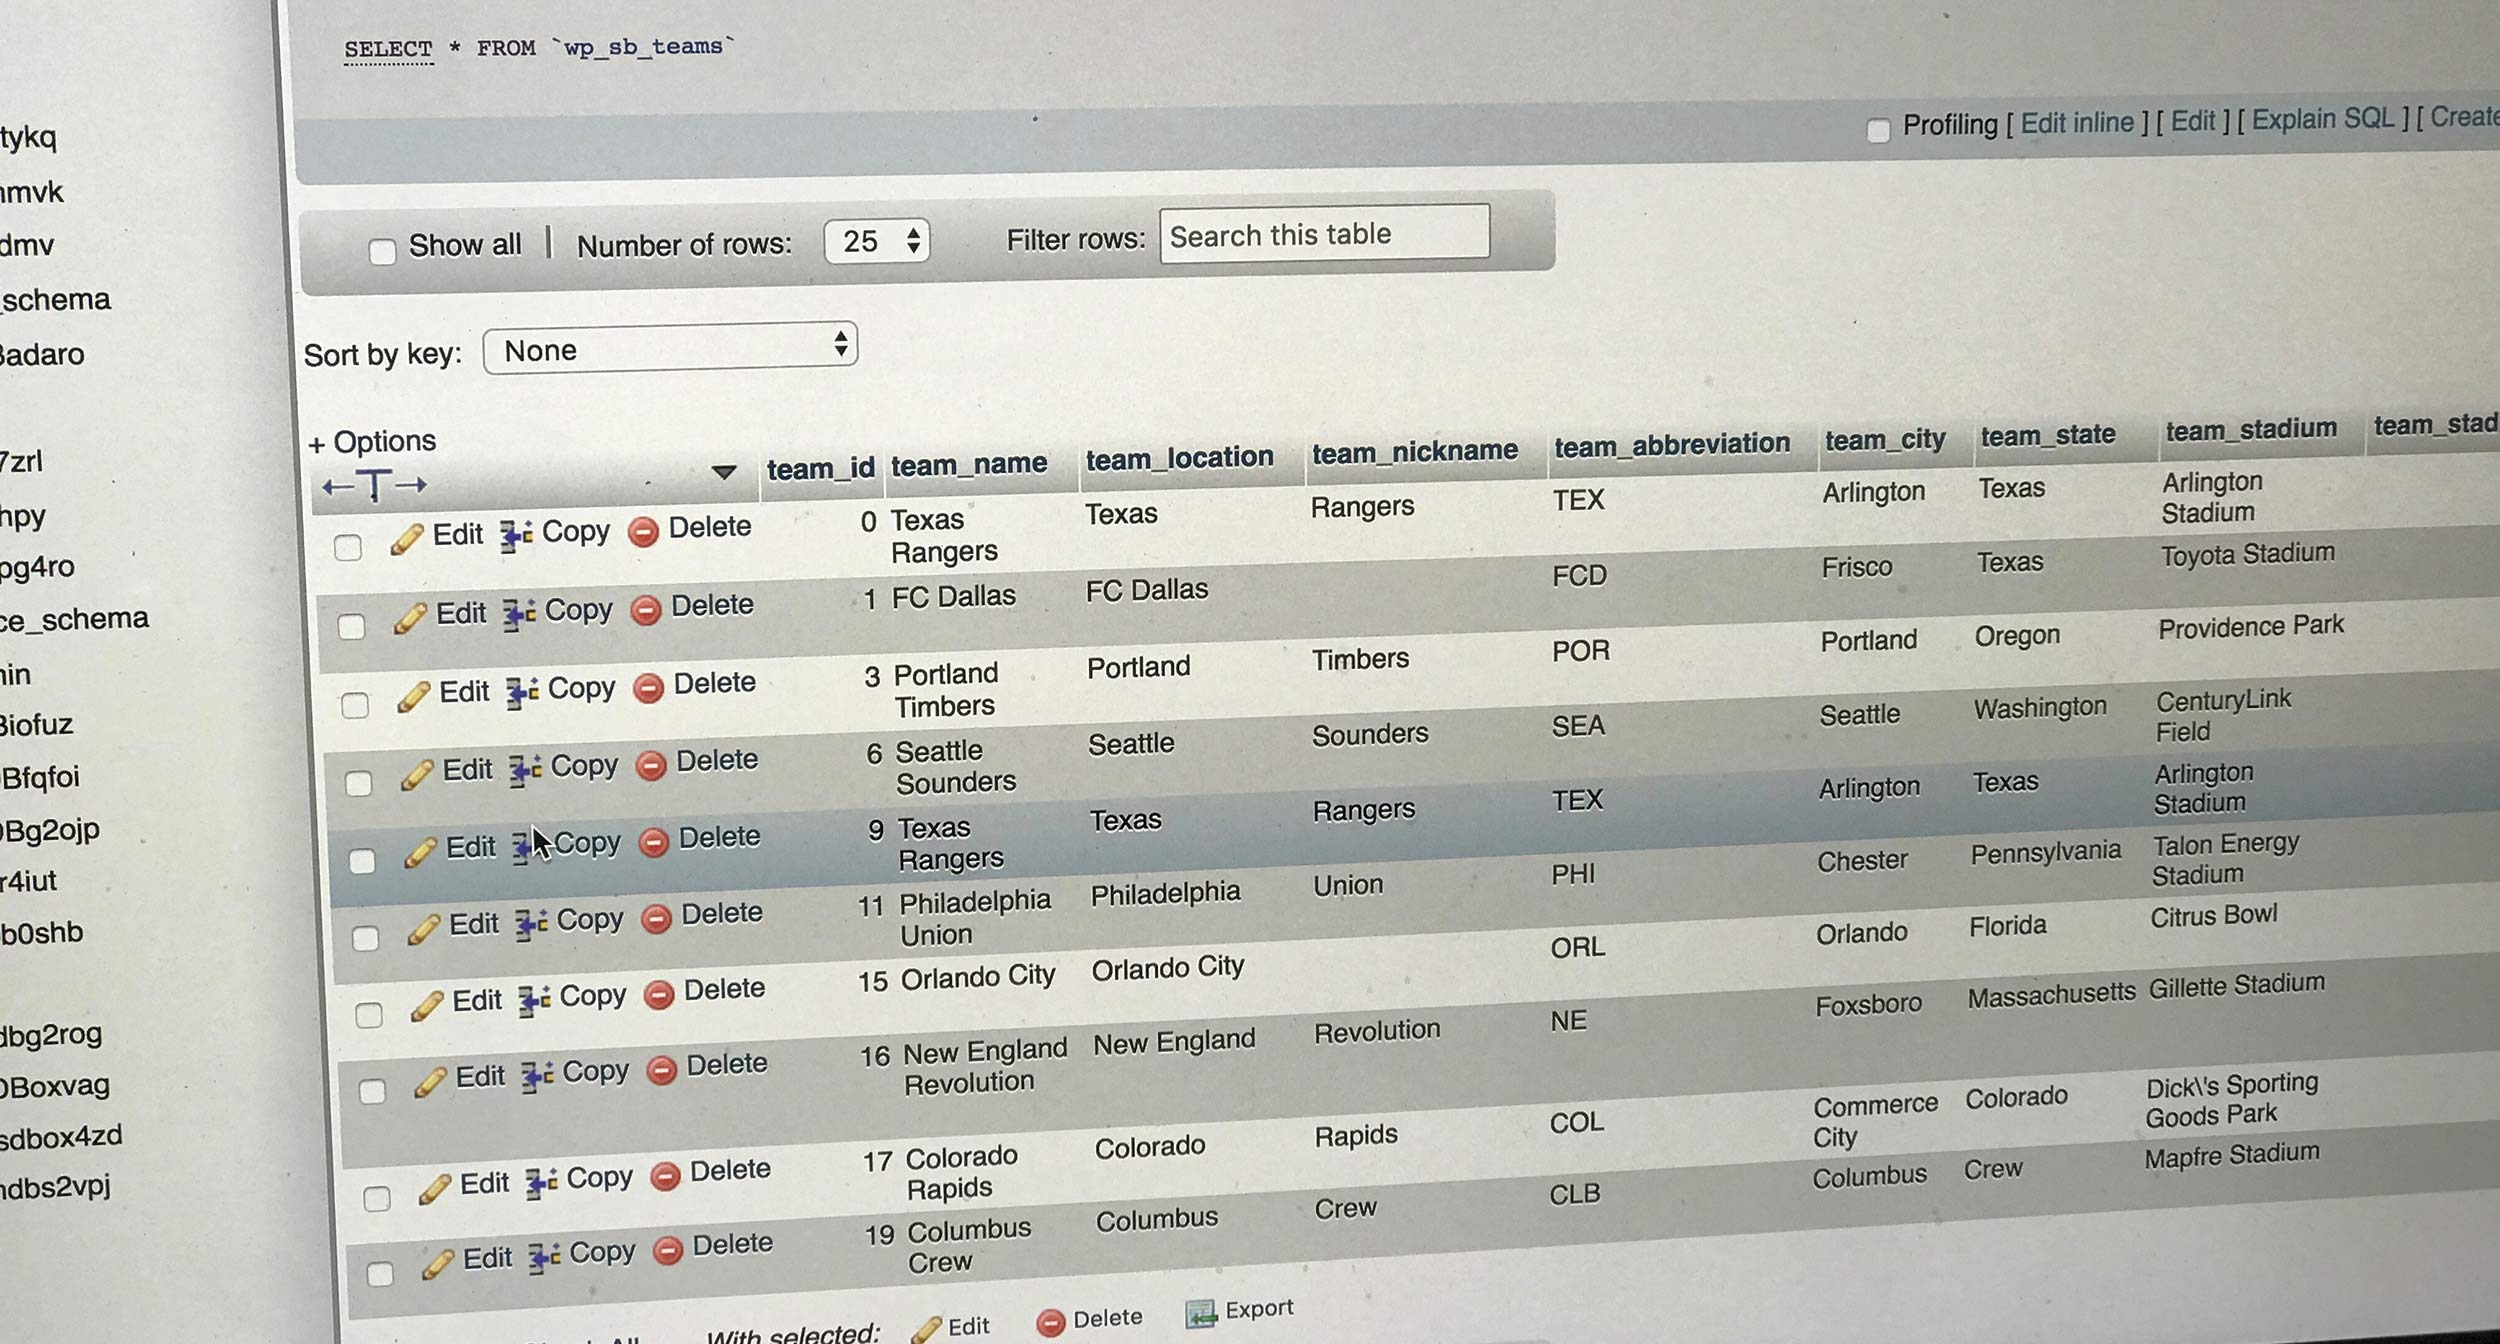
So last time I talked about how you can create a custom table with WordPress. Now, we’re going to add some data to that table.
But we’re not going to just write some MySQL and write it directly in phpMyAdmin. Instead, we’re going to create a way for an admin use to insert data to the table via a page in the backend.
This is something that can seem like a massive worry, but the basic principles are pretty simple. So let’s get started!
How to add data the WordPress way
Like I said in the custom tables post, I’m not really going to go over MySQL and the commands. Instead, this tutorial will show you how to use MySQL the WordPress way. If you’re looking to learn MySQL, I would highly suggest the W3Schools tutorial.
Anyway, to add data via code in WordPress, we’re going to go back to the $wpdb class with the insert method. This function takes in the table name and an array of the values to insert and adds the data row to the table. So, an example line of code would look like this.
$wpdb->insert( $table_name, $item );
Now that we know the function we’ll be using, let’s learn how to create a custom admin page.
How to add a custom admin page
The next part we need to learn before creating the page is how to add a custom admin page in WordPress. Fortunately, this part is super simple. First, we’ll use the add_menu_page function. Here we’ll add the page name, page slug, dashicon, capability needed to access the page and the callback function.
add_menu_page( __( 'Teams', 'sports-bench' ), __( 'Teams', 'sports-bench' ), 'edit_posts', 'teams', 'sports_bench_teams_form_page_handler', 'dashicons-groups', 6 ) ;
Then the callback function is where we’ll put all of our code that will be printed on the page. So, a basic set up for an admin page would look like this.
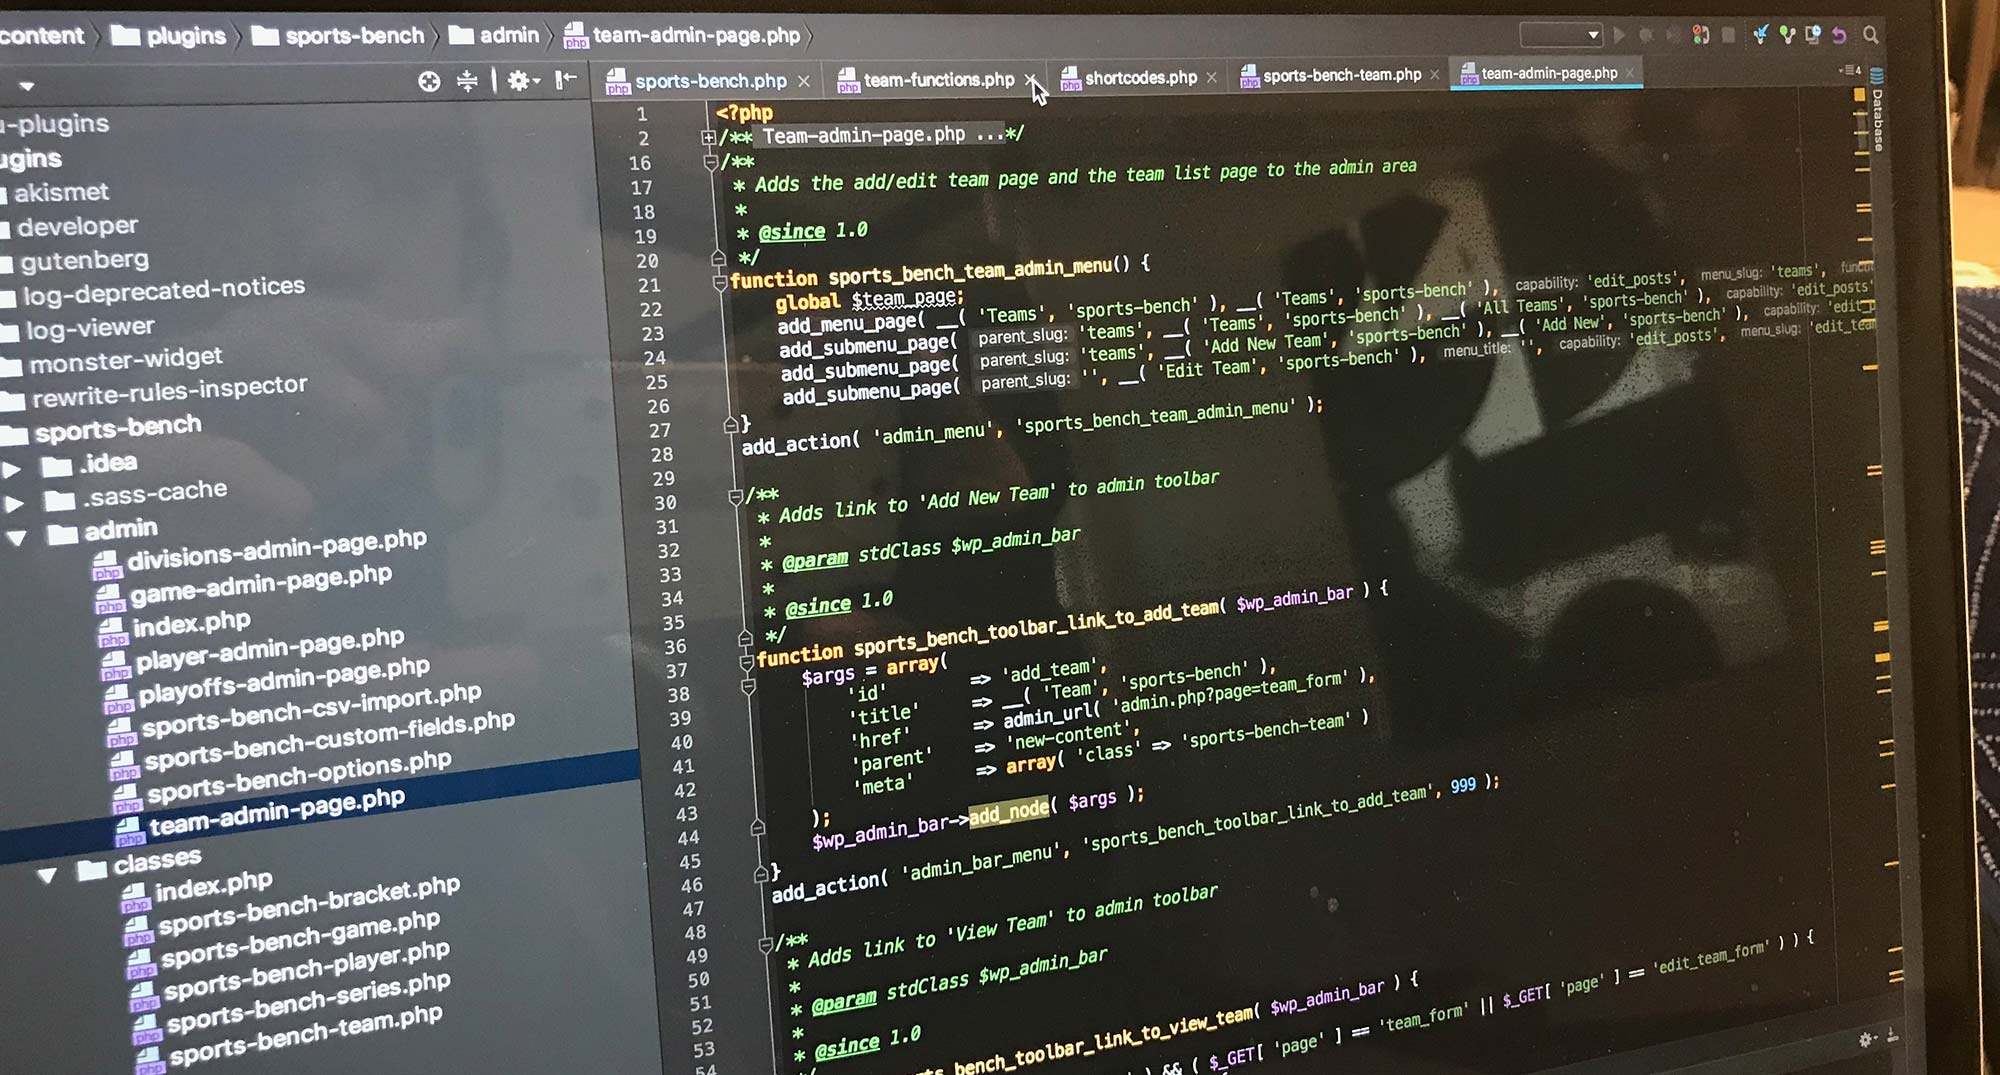
function sports_bench_team_admin_menu() {
 global $team_page;
 add_menu_page( __( 'Teams', 'sports-bench' ), __( 'Teams', 'sports-bench' ), 'edit_posts', 'add_data', 'sports_bench_teams_form_page_handler', 'dashicons-groups', 6 ) ;
}
add_action( 'admin_menu', 'sports_bench_team_admin_menu' );

function sports_bench_teams_form_page_handler() {
  echo 'Hello World!';
}
I do want to note that I’ve wrapped the add_menu_page function inside another function that is called with the admin_menu hook, which is the proper way to add the page.
Putting the page together
So now we’re ready to put together the page. Let’s focus in on the callback function, since that’s the trickiest part and where all of the fun stuff happens.
First, let’s create a form. We’ll have text inputs for team_name, team_city, team_state and team_stadium. We’ll get to how we’ll add team_id in a bit. The form method should be POST and the action should be “?page=add_data”.
<form method="POST" action="?page=add_data">
  <label>Team Name: </label><input type="text" name="team_name" /><br />
  <label>Team City: </label><input type="text" name="team_city" /><br />
  <label>Team State: </label><input type="text" name="team_state" /><br />
  <label>Team Stadium: </label><input type="text" name="team_stadium" /><br />
<input type="submit" value="submit" />
</form>
Now we get into the actual PHP code. First we’re going to find out how to get the team id for the team. And to do that, we’ll use the following lines of code. It checks the database for the last entered team, grabs that id and adds one to it for our new team. If there are no teams, then the id is set to one.
$default_row = $wpdb->get_row( "SELECT * FROM $table_name ORDER BY team_id DESC LIMIT 1" );
if ( $default_row != null ) {
 $id = $default_row->team_id + 1;
} else {
 $id = 1;
}
Next, we’ll create an array of default values. This will help us avoid any weird errors when we go to insert the data. We then merge this array with the data that comes back into a variable.
$default = array(
 'team_id' => $id,
 'team_name' => '',
 'team_city' => '',
 'team_state' => '',
 'team_stadium' => '',
);
$item = shortcode_atts( $default, $_REQUEST );
And then finally, we go and insert the new team into the database.
$wpdb->insert( $table_name, $item );
And here’s our completed code.
function sports_bench_team_admin_menu() {
 global $team_page;
 add_menu_page( __( 'Teams', 'sports-bench' ), __( 'Teams', 'sports-bench' ), 'edit_posts', 'add_data', 'sports_bench_teams_form_page_handler', 'dashicons-groups', 6 ) ;
}
add_action( 'admin_menu', 'sports_bench_team_admin_menu' );

function sports_bench_teams_form_page_handler() {
  global $wpdb;
  echo '<form method="POST" action="?page=add_data">
 <label>Team Name: </label><input type="text" name="team_name" /><br />
 <label>Team City: </label><input type="text" name="team_city" /><br />
 <label>Team State: </label><input type="text" name="team_state" /><br />
 <label>Team Stadium: </label><input type="text" name="team_stadium" /><br />
<input type="submit" value="submit" />
</form>';

  $default_row = $wpdb->get_row( "SELECT * FROM $table_name ORDER BY team_id DESC LIMIT 1" );
if ( $default_row != null ) {
 $id = $default_row->team_id + 1;
} else {
 $id = 1;
}
 $default = array(
 'team_id' => $id,
 'team_name' => '',
 'team_city' => '',
 'team_state' => '',
 'team_stadium' => '',
);
$item = shortcode_atts( $default, $_REQUEST );

 $wpdb->insert( $table_name, $item );
}
Pretty cool isn’t it.
Where you can go from here
This is a super simple example to the sake of time, but it shows you the power you have when it comes to data for your site or plugin. You’ll want to be sure to add more security to it, like sanitation and validation, but this the basic outline to follow with adding data to a custom table in the WordPress admin.
So have fun with this newly learned power!
18 responses to “How to add a WordPress admin page to add data to a custom table”
thanks for sharing awesome tricks for WordPress
I copied the code for create a custom table and code from this post “How to add a WordPress admin page to add data to a custom table” in a new plugin.
I activated it and it created successfully the table in database.
Also on admin ‘Teams’ menu created but when I click on it nothing displays. I am using latest wordpress version 4.9.7.
get_charset_collate();
require_once( ABSPATH . ‘wp-admin/includes/upgrade.php’ );
//* Create the teams table
$table_name = $wpdb->prefix . ‘sb_teams’;
$sql = “CREATE TABLE $table_name (
team_id INTEGER NOT NULL AUTO_INCREMENT,
team_name TEXT NOT NULL,
team_city TEXT NOT NULL,
team_state TEXT NOT NULL,
team_stadium TEXT NOT NULL,
PRIMARY KEY (team_id)
) $charset_collate;”;
dbDelta( $sql );
}
register_activation_hook( __FILE__, ‘sports_bench_create_db’ );
function sports_bench_team_admin_menu() {
global $team_page;
add_menu_page( __( ‘Teams’, ‘sports-bench’ ), __( ‘Teams’, ‘sports-bench’ ), ‘edit_posts’, ‘add_data’, ‘sports_bench_teams_page_handler’, ‘dashicons-groups’, 6 ) ;
}
add_action( ‘admin_menu’, ‘sports_bench_team_admin_menu’ );
function sports_bench_teams_form_page_handler() {
global $wpdb;
echo ‘
Team Name:
Team City:
Team State:
Team Stadium:
‘;
$default_row = $wpdb->get_row( “SELECT * FROM $table_name ORDER BY team_id DESC LIMIT 1″ );
if ( $default_row != null ) {
$id = $default_row->team_id + 1;
} else {
$id = 1;
}
$default = array(
‘team_id’ => $id,
‘team_name’ => ”,
‘team_city’ => ”,
‘team_state’ => ”,
‘team_stadium’ => ”,
);
$item = shortcode_atts( $default, $_REQUEST );
$wpdb->insert( $table_name, $item );
}
What may be I made mistake. Please could you help me on this.
Thank you
I tried your code above it created table but from admin menu team it do not shows any form or ‘Hello World’
Please could you help me on this.
Hello Rajan,
So I just want to check, but is the page showing in the admin menu or not? Just want to see if that’s the main issue. As for the form for the page, the code you pasted in the other comment is missing the code for the form to display it. So that might be the problem.
Jacob Thakyou for your reply.
Yes, In admin Menu ‘Teams’ is created
and with this code in plugin database also created.
function sports_bench_create_db() {
global $wpdb;
$charset_collate = $wpdb->get_charset_collate();
require_once( ABSPATH . ‘wp-admin/includes/upgrade.php’ );
//* Create the teams table
$table_name = $wpdb->prefix . ‘sb_teams’;
$sql = “CREATE TABLE $table_name (
team_id INTEGER NOT NULL AUTO_INCREMENT,
team_name TEXT NOT NULL,
team_city TEXT NOT NULL,
team_state TEXT NOT NULL,
team_stadium TEXT NOT NULL,
PRIMARY KEY (team_id)
) $charset_collate;”;
dbDelta( $sql );
}
register_activation_hook( __FILE__, ‘sports_bench_create_db’ );
Then below it I pasted the above code from this blog
function sports_bench_team_admin_menu() {
global $team_page;
add_menu_page( __( ‘Teams’, ‘sports-bench’ ), __( ‘Teams’, ‘sports-bench’ ), ‘edit_posts’, ‘add_data’, ‘sports_bench_teams_page_handler’, ‘dashicons-groups’, 6 ) ;
}
add_action( ‘admin_menu’, ‘sports_bench_team_admin_menu’ );
function sports_bench_teams_form_page_handler() {
global $wpdb;
echo ‘
Team Name:
Team City:
Team State:
Team Stadium:
‘;
$default_row = $wpdb->get_row( “SELECT * FROM $table_name ORDER BY team_id DESC LIMIT 1″ );
if ( $default_row != null ) {
$id = $default_row->team_id + 1;
} else {
$id = 1;
}
$default = array(
‘team_id’ => $id,
‘team_name’ => ”,
‘team_city’ => ”,
‘team_state’ => ”,
‘team_stadium’ => ”,
);
$item = shortcode_atts( $default, $_REQUEST );
$wpdb->insert( $table_name, $item );
}
but clicking on ‘Teams’ from admin menu it do not shows anything.
Also tried adding only
echo ‘Hello World!’;
but also it did not displayed anything.
Sorry for making you trouble, but don’t know where I missed code for displaying form.
Thankyou
No worries. I love to help. Actually, apologies for the late reply, it’s been a bit of a day. Is there any chance you can take a screenshot of your screen and email it to me at me@jacobmartella.com. We can continue the conversation there. That will help me figure out what might be going on. Thanks!
Thankyou will send mail
Hi,
thanks for your post.
How we can add an upload image field to this form and save the address of it in the database?
do you have any advice?
I do. Unfortunately I was busy this weekend and wasn’t able to write up the code for it. I’ve done it before, but it’s a bit complex in terms of making the upload to the rest of the WordPress interface. Might actually be a separate post on its own really.
Thank you so much for this post, and the one prior, which helped me build my custom table. I got my admin page up and visible, but when I enter data and click to submit, the data is not added to my table. Would you be able to help? I’m happy to share screenshots if that helps. I’m super new to this side of WordPress, so please forgive me if this is a silly question.
Here’s the code I entered in my functions.php file:
function book_collection_admin_menu() {
global $book_form_page;
add_menu_page( __( ‘Books’, ‘book-entry’ ), __( ‘Books’, ‘book-entry’ ), ‘edit_posts’, ‘add_data’, ‘book_entry_form_page_handler’, ‘dashicons-groups’, 6 ) ;
}
add_action( ‘admin_menu’, ‘book_collection_admin_menu’ );
function book_entry_form_page_handler() {
global $wpdb;
echo ‘
Book Title:
Author Last Name:
Author First Name:
Book Format:
Book Genre:
Book Location:
Rating:
‘;
$default_row = $wpdb->get_row( “SELECT * FROM $table_name ORDER BY book_id DESC LIMIT 1″ );
if ( $default_row != null ) {
$id = $default_row->book_id + 1;
} else {
$id = 1;
}
$default = array(
‘book_id’ => $id,
‘book_title’ => ”,
‘author_last_name’ => ”,
‘author_first_name’ => ”,
‘book_format’ => ”,
‘book_genre’ => ”,
‘book_location’ => ”,
‘book_rating’ => ”,
);
$item = shortcode_atts( $default, $_REQUEST );
$wpdb->insert( $table_name, $item );
}
Hi Stacy,
I haven’t been able to actually test the functionality of the code yet, but I did notice that you don’t define
$table_nameanywhere. I would start there to see if that fixes the problem.I know this post is 2 years old, but it has one major error for people using the copy/paste method.
—–
function sports_bench_team_admin_menu() {
global $team_page;
add_menu_page( __( ‘Teams’, ‘sports-bench’ ), __( ‘Teams’, ‘sports-bench’ ), ‘edit_posts’, ‘add_data’, ‘sports_bench_teams_page_handler’, ‘dashicons-groups’, 6 ) ;
}
add_action( ‘admin_menu’, ‘sports_bench_team_admin_menu’ );
—-
In this code you call the function ‘sports_bench_teams_page_handler’, but the function to create the page is actually called ‘sports_bench_teams_form_page_handler’
it includes the _form part which is not present in the function call.
-Adam
Hey Adam,
Thanks for the heads up on that issue. I’ve edited the post to reflect those fixes.
Hey Jacob,
Thanks for sharing your trick to submit to SQL and pointing me in the right direction.
I’m noticing that when I submit to my SQL db it’ll submit multiple rows with 0 along with my input data – do you know what is causing this issue?
Appreciate it
Hey Rickey,
That’s really interesting. Is there any chance you can send a screenshot to me at me@jacobmartella.com? I don’t know how much time I can spend looking at it this week, but seeing what’s going on might help. Thanks!
Hey,
Thanks, I found the problem I had an extra hidden input action from the previous form
Appreciate the help
Thanks for sharing this. I just noticed that the links of the related posts (second row) is wrong. They link to this post instead of the right related post.
Hi Michael,
Thanks for the heads up. That problem has been fixed.