So you're trying to manipulate WordPress to fit your needs. Say, you're trying to add your logo to the login screen. You've found a tutorial on how to do this and add it to your theme's functions.php file. It works and your login screen now looks awesome.
But a year later you find this other awesome theme and decide to use it. But when you make the switch, you're logo is no longer on the login screen.
That's where a functionality plugin comes in handy.
What is a functionality plugin?
By it's definition, a plugin adds functionality to your site. In the WordPress sphere, themes are really only supposed to add style and design to your site while plugins add the functionality. The reason for this is that you don't lose data or functionality when you inevitably move from theme to theme.
So, a functionality plugin is no different. Except that it's something you create and own. You can add custom functions and code that manipulates WordPress. Need to create a shortcode? Throw it in the functionality plugin. Need to add a custom post type? Add it to the plugin.
In essence, a functionality plugin is a new functions.php file that doesn't change when you change themes.
Keeps your customizations organized
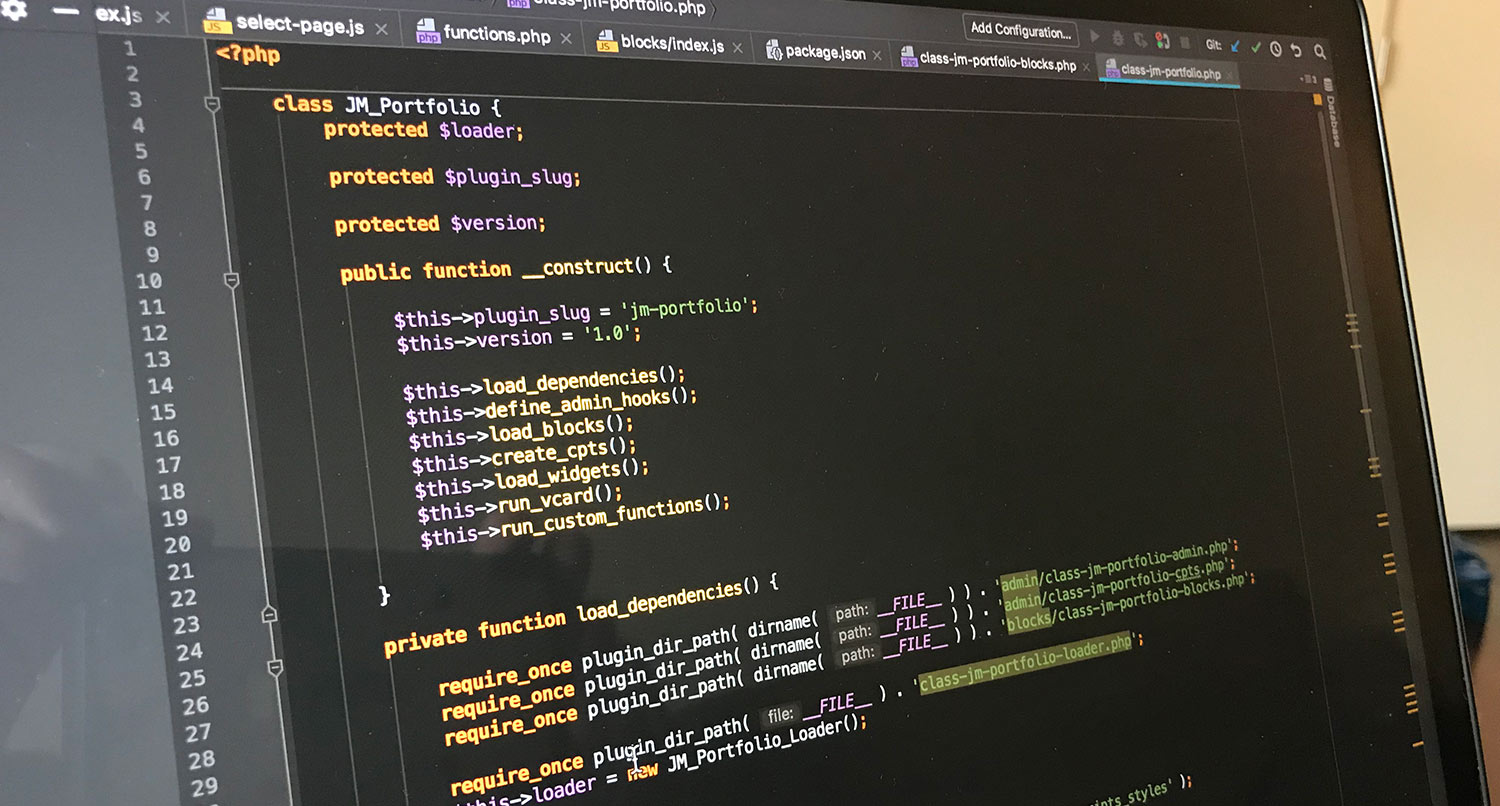
Like I talked about with the child themes last week, functionality plugins help keep all of your code organized. I'll talk more about it in the brief tutorial below, but you can set up your plugin however you want so you know where everything is.
In the functionality plugin I have for this site, I have a separate PHP file for the custom post types and a separate file for the custom taxonomies that are hooked into the main plugin file. So when I need to make a change for either of those areas, I know exactly where to go.
Functionality plugins allow you that option of setting up how you need it to be organized. Whether that's one long main file or many separate ones with their own functions, you can do basically whatever to make sure you know where everything is. It certainly beats a very long and unorganized functions.php file.
Your WordPress related changes remain in tact
But the biggest reason for having a functionality plugin is that no matter what you do with your theme, the plugin and your changes remain in tact.
One of the biggest problems I have with tutorials on how to manipulate WordPress itself is that they tell their readers to throw code into their functions.php file. While that's technically correct, it doesn't take into account what happens when a user switches themes. Because then all of that code has to get moved over to the new functions.php file.
A functionality plugin, however, doesn't rely on any one theme. Instead, as long as it's activated, it will affect the site. So, whether it's shortcodes, custom post types, custom taxonomies, or, as we'll see in a moment, it's adding a logo to the login page, a functionality plugin works for all of those changes.
Now, if you're looking to make changes to theme itself, like adding sidebar areas or nav menus, those need to go in the theme's functions.php file. But if it affects WordPress itself, it needs a functionality plugin.
How to create and use a functionality plugin
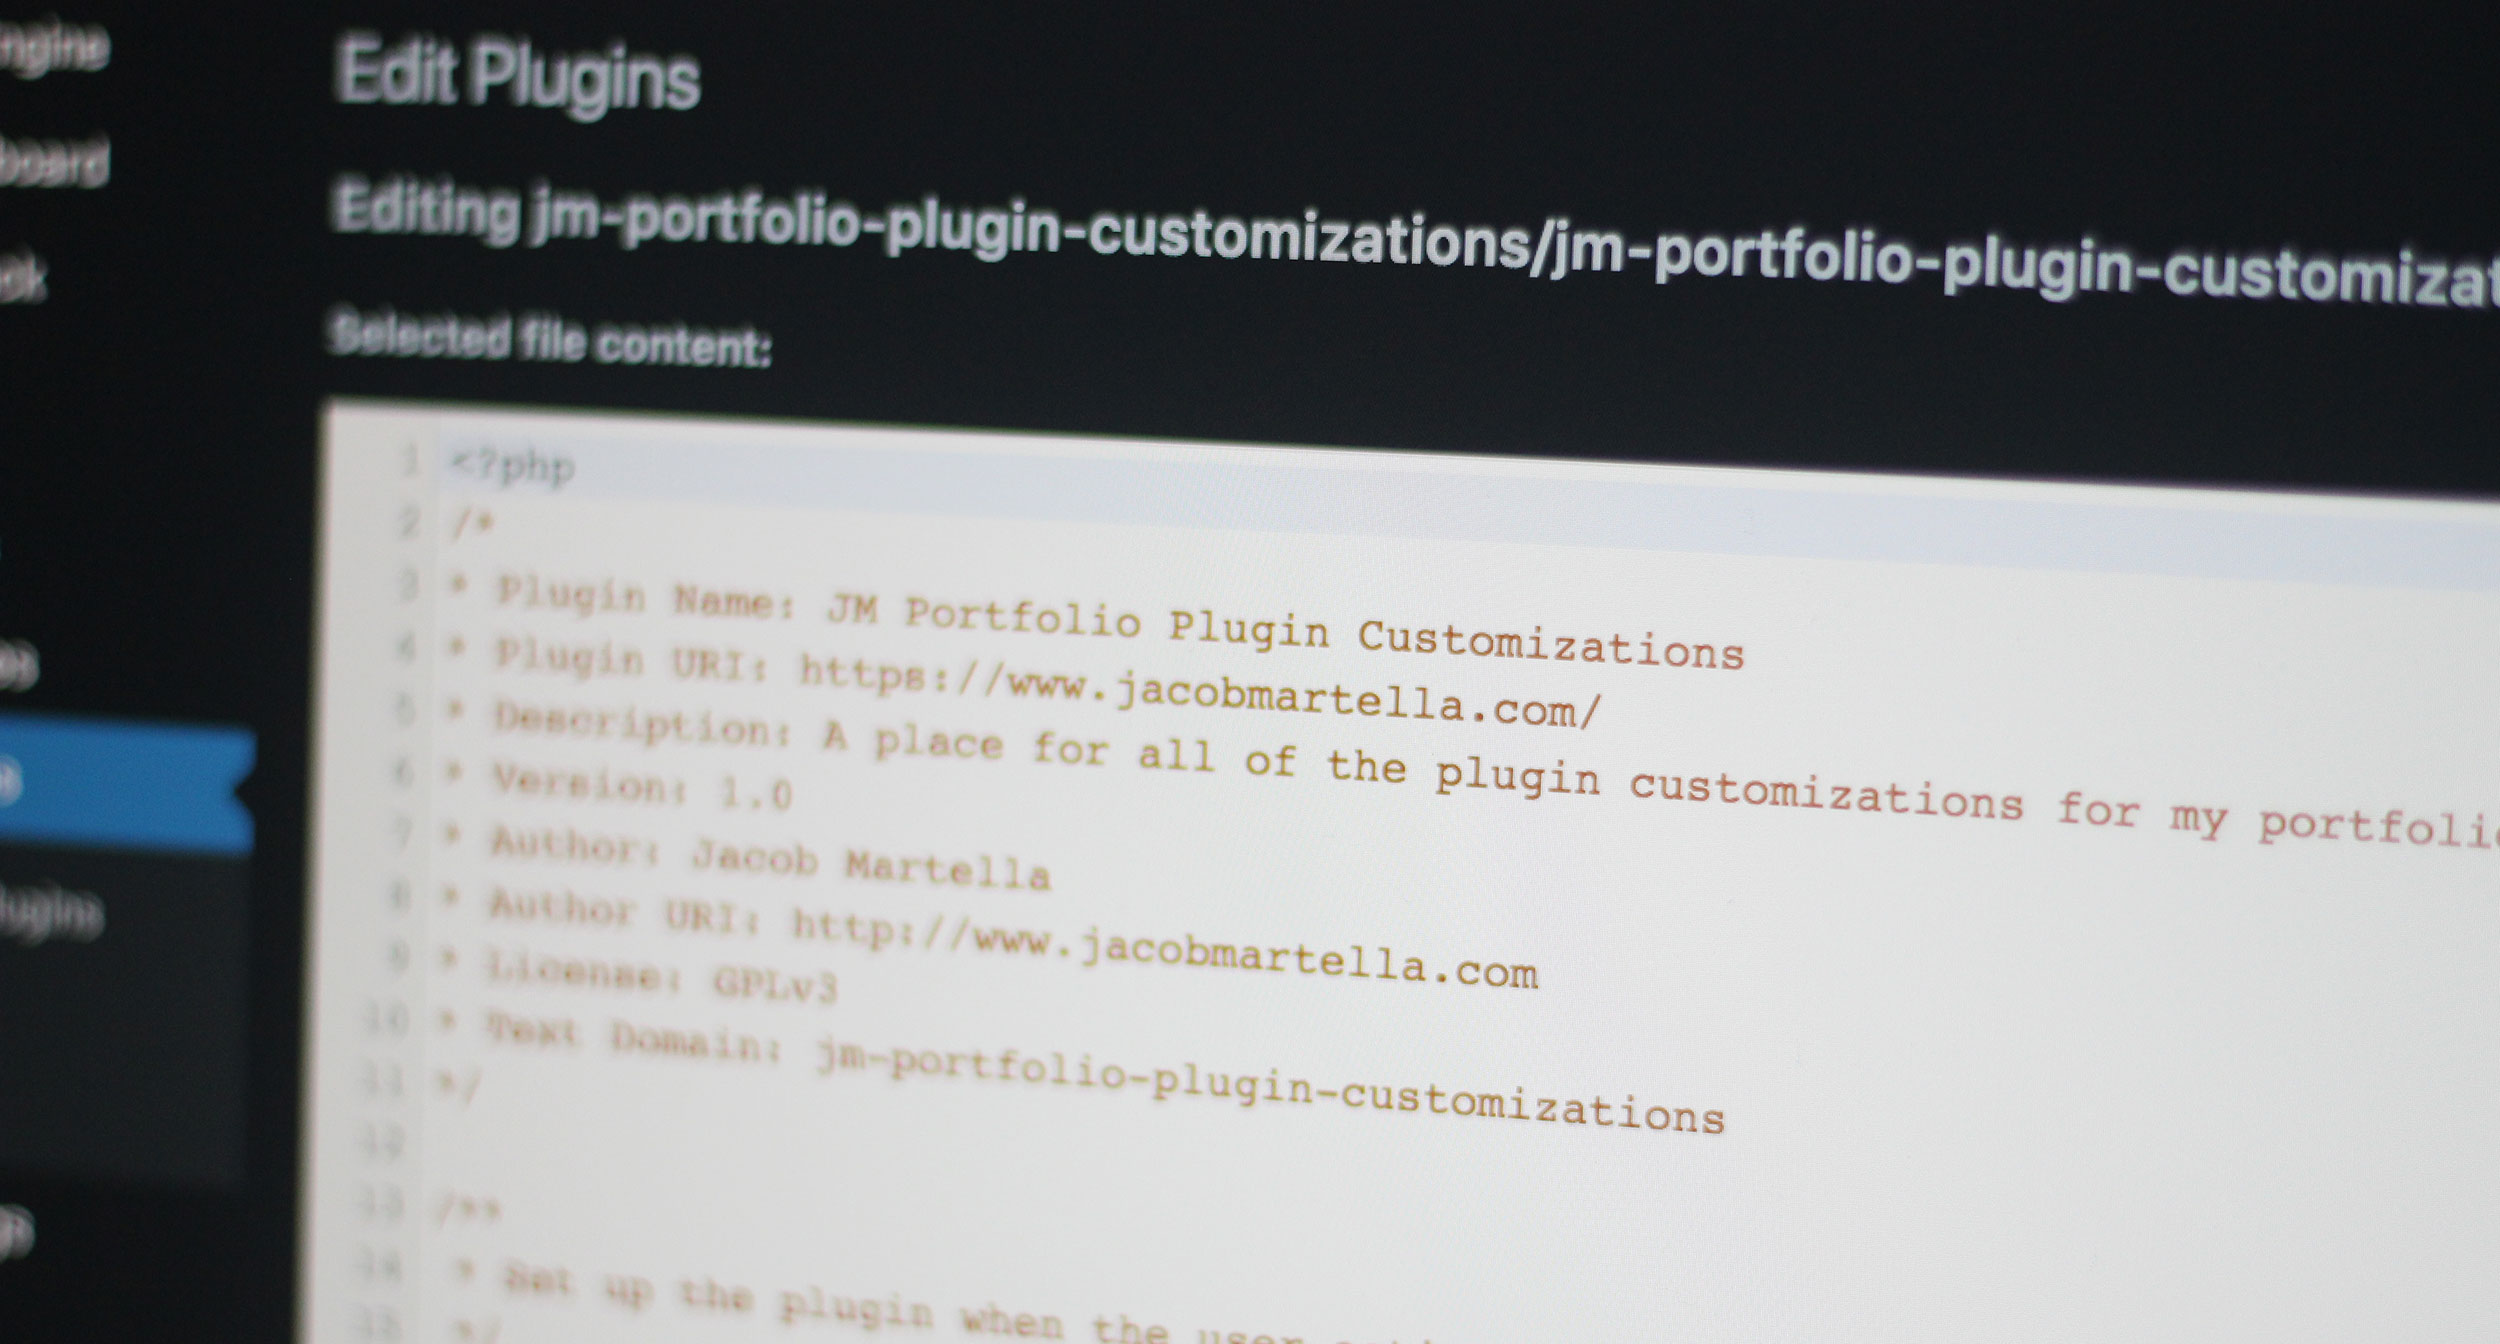
I know the word functionality plugin sounds daunting, but creating one is actually fairly simple. You really only need two things: a folder/directory and a php file with the same slug as the directory. So for this site, the plugin directory name is jm-portfolio-plugin-customizations and the php file is jm-portfolio-plugin-customizations.php.
See, not that hard.
Then inside the php file, you'll need a header that looks a little like this:
<?php
/*
* Plugin Name: JM Portfolio Plugin Customizations
* Plugin URI: https://www.jacobmartella.com/
* Description: A place for all of the plugin customizations for my portfolio site.
* Version: 1.0
* Author: Jacob Martella
* Author URI: https://www.jacobmartella.com
* License: GPLv3
* Text Domain: jm-portfolio-plugin-customizations
*/
Really, all you need to get it to run is the plugin name, description and version number, but here are a few more options as well.
Now, to show you the power these plugins have, we're going to add a custom logo to the login page. I know there are plugins out there that do this, but it can also easily be done in the code, so let's try that.
First, select what image you want for your login page. For me, it will be the "JM" logo you see at the top and bottom of the page. Then upload that into your WordPress admin grab the URL for the image.
Next, inside of your new plugin, place the following lines of code:
function jm_custom_loginlogo() {
 echo '<style type="text/css">
 h1 a {background-image: url(https://jacobmartella.me/wp-content/uploads/2017/04/logo-rect.png) !important; }
 </style>';
}
add_action('login_head', 'jm_custom_loginlogo');
Obviously, you'll need to switch out the background image url for your own, and you can change the function name to anything you want. But this is the basic setup to add the logo. And the best part is that no matter what you do with your theme, it will always be there.

So if it affects WordPress in anyway and doesn't involve your theme, put it in a functionality plugin.

